Again, we will start with basic shapes. Begin by drawing a simple circle.
Next, add a shape like this at the bottom of the circle.
Next draw a construction line vertically through the center of the shape and another horizontally dividing the shape into quarters.The exact placement of the horizontal line will vary depending on the age and look of the character, I'll talk in more detail about this in future posts. For now, place it in the center. Next, place a small mark to divide the lower segment of the vertical line in half and then, another mark half way between that mark and the chin. These are the lines on which we will hang all the features.
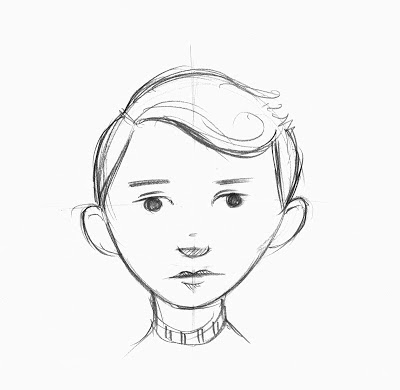
Next add some very simple features as shown below.
On this simple drawing you can add any details you like. Here's an example below. These are the steps that I use to create any character I draw, in future posts I'll show you how to vary the details to make a variety of characters. In he meantime just play around and see what you can do.


Great guidance! If you get a chance, could you post a quick tutorial on cross-hatching? That is one of the most beautiful aspects of your drawings.
ReplyDeleteThanks. I'm pleased that you found the lesson useful. I'll make a note to design a future lesson on cross-hatch techniques.
ReplyDeleteThat would absolutely be interesting to see. I'm very excited about these lessons!
ReplyDeleteThank you for this! My eight year-old daughter is looking for just this sort of easy-to-follow drawing help!
ReplyDeleteHello Bret. I read the books, A Series of Unfortunate Events and was absolutely mind-blown to find such brilliant illustrations of yours that I want to learn how to draw like that ( I am a Graphic Design student form India currently doing my Bachelors in Design) Please teach cross-hatching which is the most signature style of yours. Its so mysteriously attractive I have no words for it!!
ReplyDelete